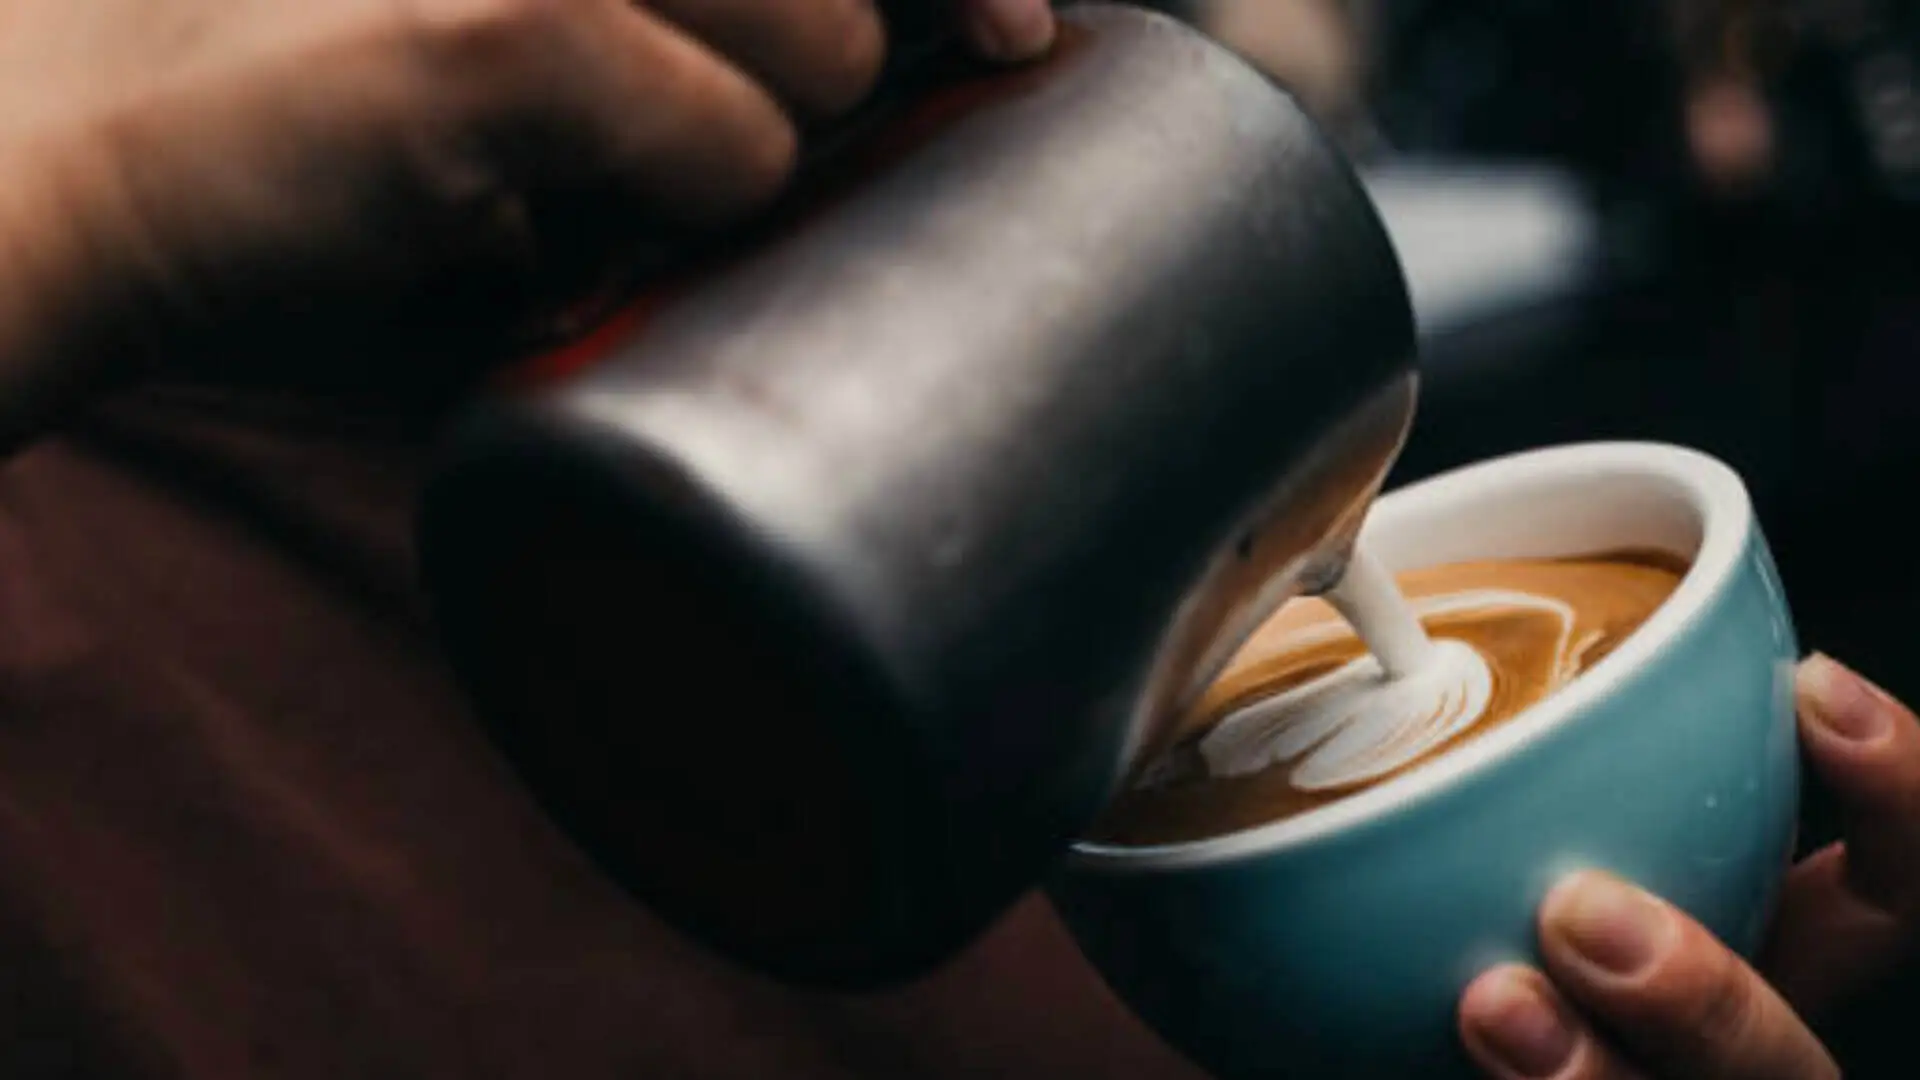
If you’ve ever marveled at the intricate designs atop your coffee at a café, you’re not alone. Latte art has become a beloved feature in the coffee world, transforming your daily cup of coffee into a miniature canvas of creativity. But how do you achieve these mesmerizing patterns at home? Let’s dive into the basics of latte art and discover how you can become a maestro of milk and espresso. After you’ve mastered the basic, try your hand at some of the most popular latte art designs.
Understanding the Basics
Before diving into the art itself, it’s crucial to understand the elements involved:
- Espresso: This is the foundation of your latte art. A well-pulled shot of espresso will have a rich, thick crema on top—an essential component for creating art.
- Milk: Whole milk is often preferred for its balance of fat and protein, which creates a creamy texture and stable foam. Other milks can be used, but they may not produce the same results.
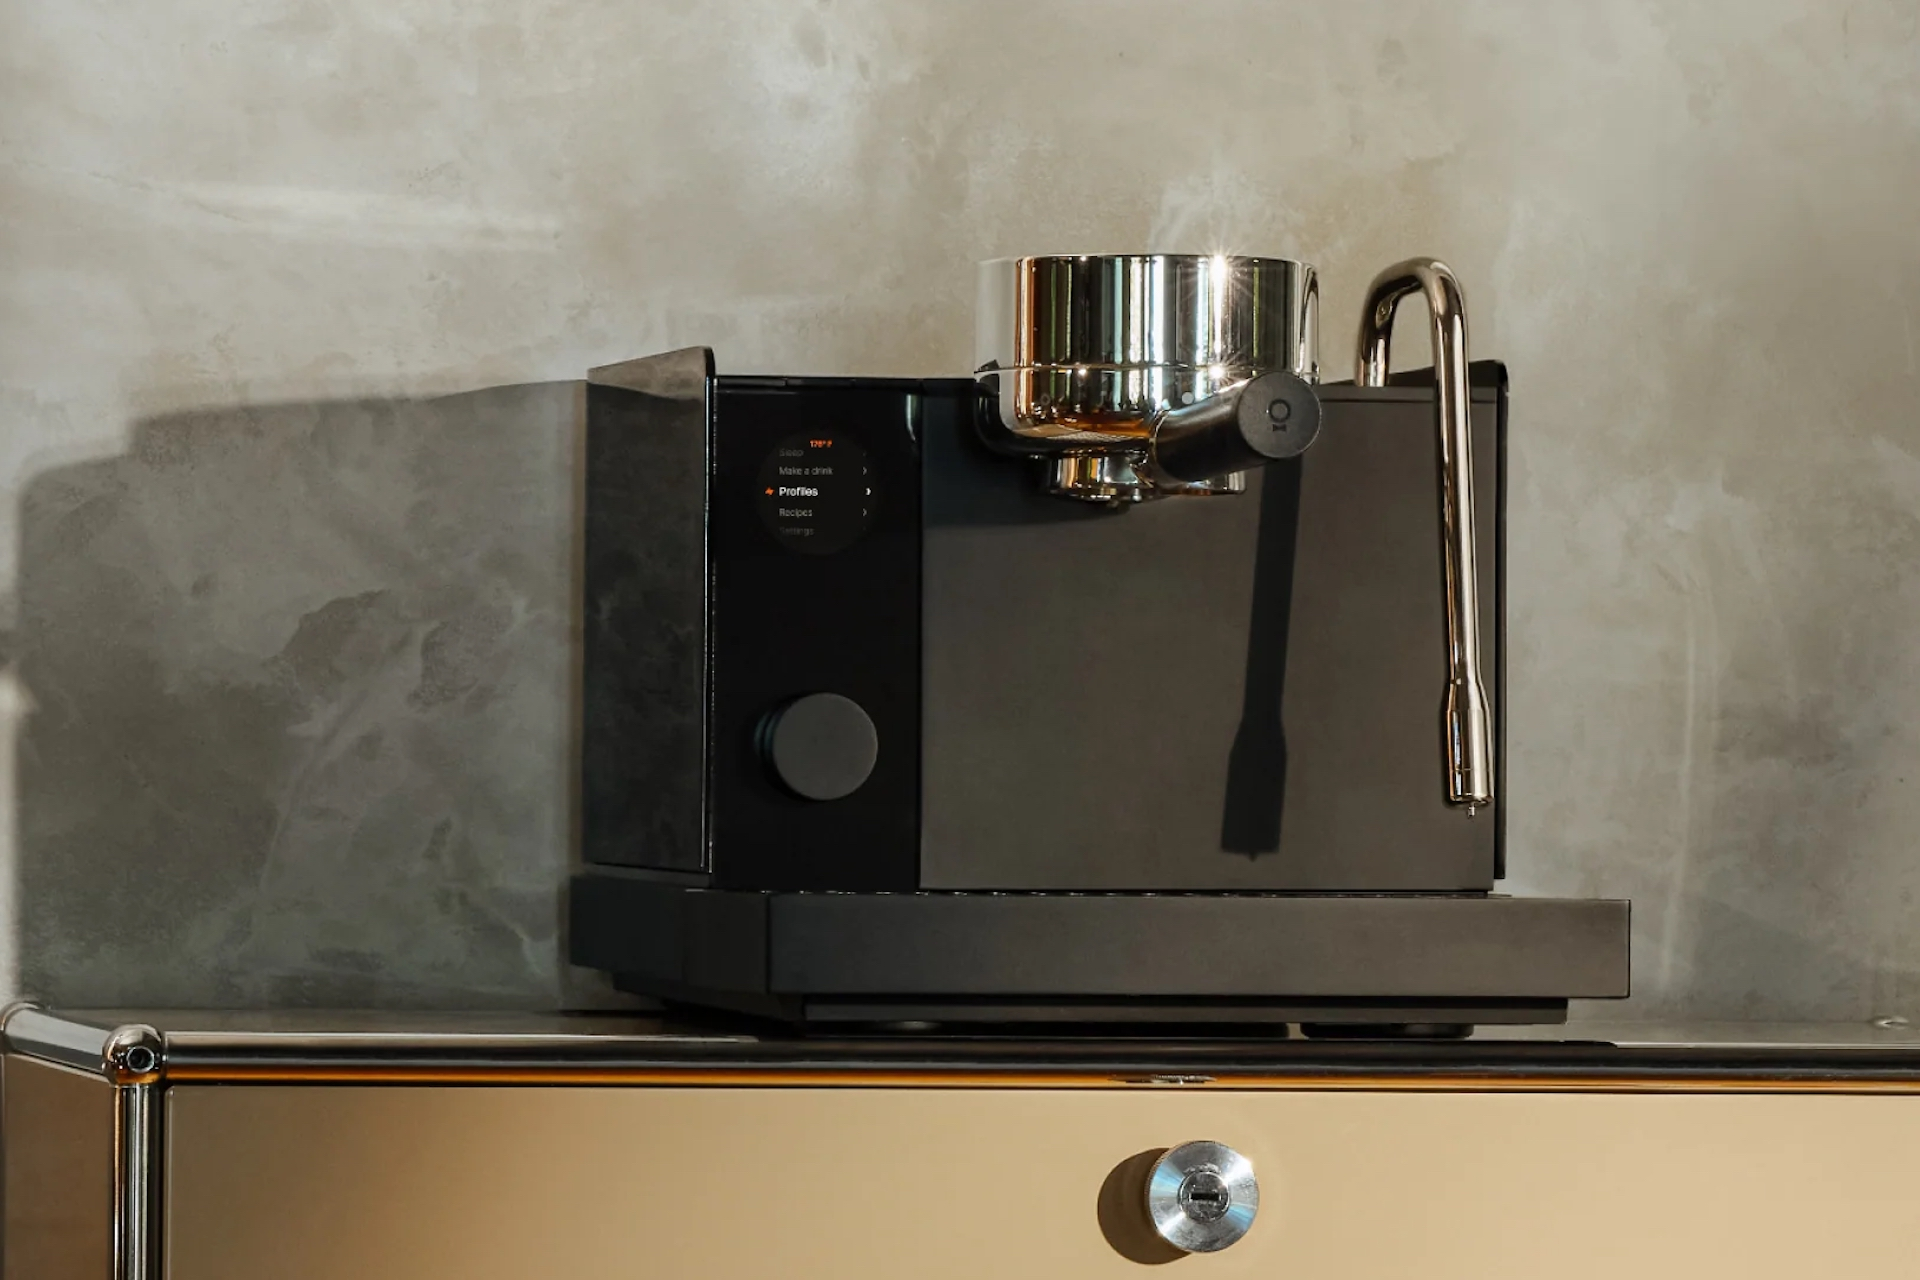
- Steaming Equipment: You’ll need a good-quality espresso machine with a steam wand or a separate milk frother.

1. Pulling the Perfect Espresso Shot
- Grind Your Beans: Use freshly ground coffee beans. A fine grind is essential for a good shot of espresso. There are a variety of great coffee grinders available.
- Tamping: After filling the portafilter with ground coffee, tamp it down evenly and firmly to ensure uniform extraction.
- Extraction: Brew your espresso shot and aim for a rich, dark crema on top. This crema is vital as it holds the patterns you’ll create with your milk.

2. Steaming the Milk
- Cold Milk: Start with cold milk straight from the fridge. This helps create a better froth.
- Steaming Technique: Insert the steam wand into the milk, just below the surface. Turn on the steam and gently lower the wand to stretch the milk. The goal is to create microfoam—tiny bubbles that integrate into the milk, making it velvety smooth.
- Temperature: Heat the milk to about 150°F (65°C). Overheating can burn the milk, which negatively impacts flavor and texture.
- Swirl and Tap: Once steamed, swirl the milk in the pitcher to integrate the foam and tap it on a counter to break any large bubbles.

3. Pouring the Latte Art
- Tilt the Cup: Begin by tilting your coffee cup at a slight angle.
- Pour from a Height: Start pouring the milk from a bit higher above the cup. This helps mix the milk with the espresso and creates a base layer.
- Pouring Technique: As the cup begins to fill, lower the pitcher closer to the surface of the coffee. The goal is to control the flow to create the desired pattern.
- Creating Patterns: Here are some classic designs:
- Heart: Start by pouring in the center of the cup, then slowly move the pitcher to one side and back to the center.
- Rosetta: Begin by pouring in the center and create a wave-like motion as you pour, moving from side to side.
- Tulip: Pour a small amount in the center, then add more layers in a circular motion.
Check out this video for more details on how speed, height and location affect your latte art creations.
4. Perfecting Your Technique
Latte art requires practice, so don’t be discouraged by initial results. Here are a few tips to improve:
- Consistency: Practice the pouring technique to create a steady, controlled stream of milk.
- Experiment: Try different patterns and pouring styles to develop your unique approach.
- Temperature Control: Ensure that both your espresso and milk are at optimal temperatures for the best results.
- Clean Equipment: Regularly clean your steam wand and other equipment to prevent any build-up that could affect the taste and texture of your milk.
Enjoying Your Creation
Once you’ve mastered the art, take a moment to appreciate your work. Latte art not only adds beauty to your coffee but also enhances the overall experience of enjoying your drink.
Remember, latte art is as much about creativity as it is about technique. So, have fun with it, experiment with new designs, and most importantly, enjoy the process of crafting your perfect cup of coffee. Happy pouring!

